Warning: Use of undefined constant WPLANG - assumed 'WPLANG' (this will throw an Error in a future version of PHP) in /var/www/html/blog/wp-content/plugins/add-local-avatar/avatars.php on line 154 The Glide Ride » repair

Gears

Posted in Engine, repair, The Long Rode on March 15th, 2013 by Wade

Today I received the gaskets for the oil pump. So I put it together   Problem is that yesterday I ran all over looking for woodruff keys (#207) and locking rings.  See when I ordered the gasket kit I thought it was just the gaskets.  I ended up having to get the woodruff keys from the local HD shop for $3 apice, McMaster-Carr sells them for $0.23 apice in quantities of 50.   This morning I went and got the keys.  Then in the mail was my gasket kit.  Luckily the kit was a full rebuild kit with two keys and the locking ring in it.  So tomorrow I get to return the keys and the locking ring.  Whoot.

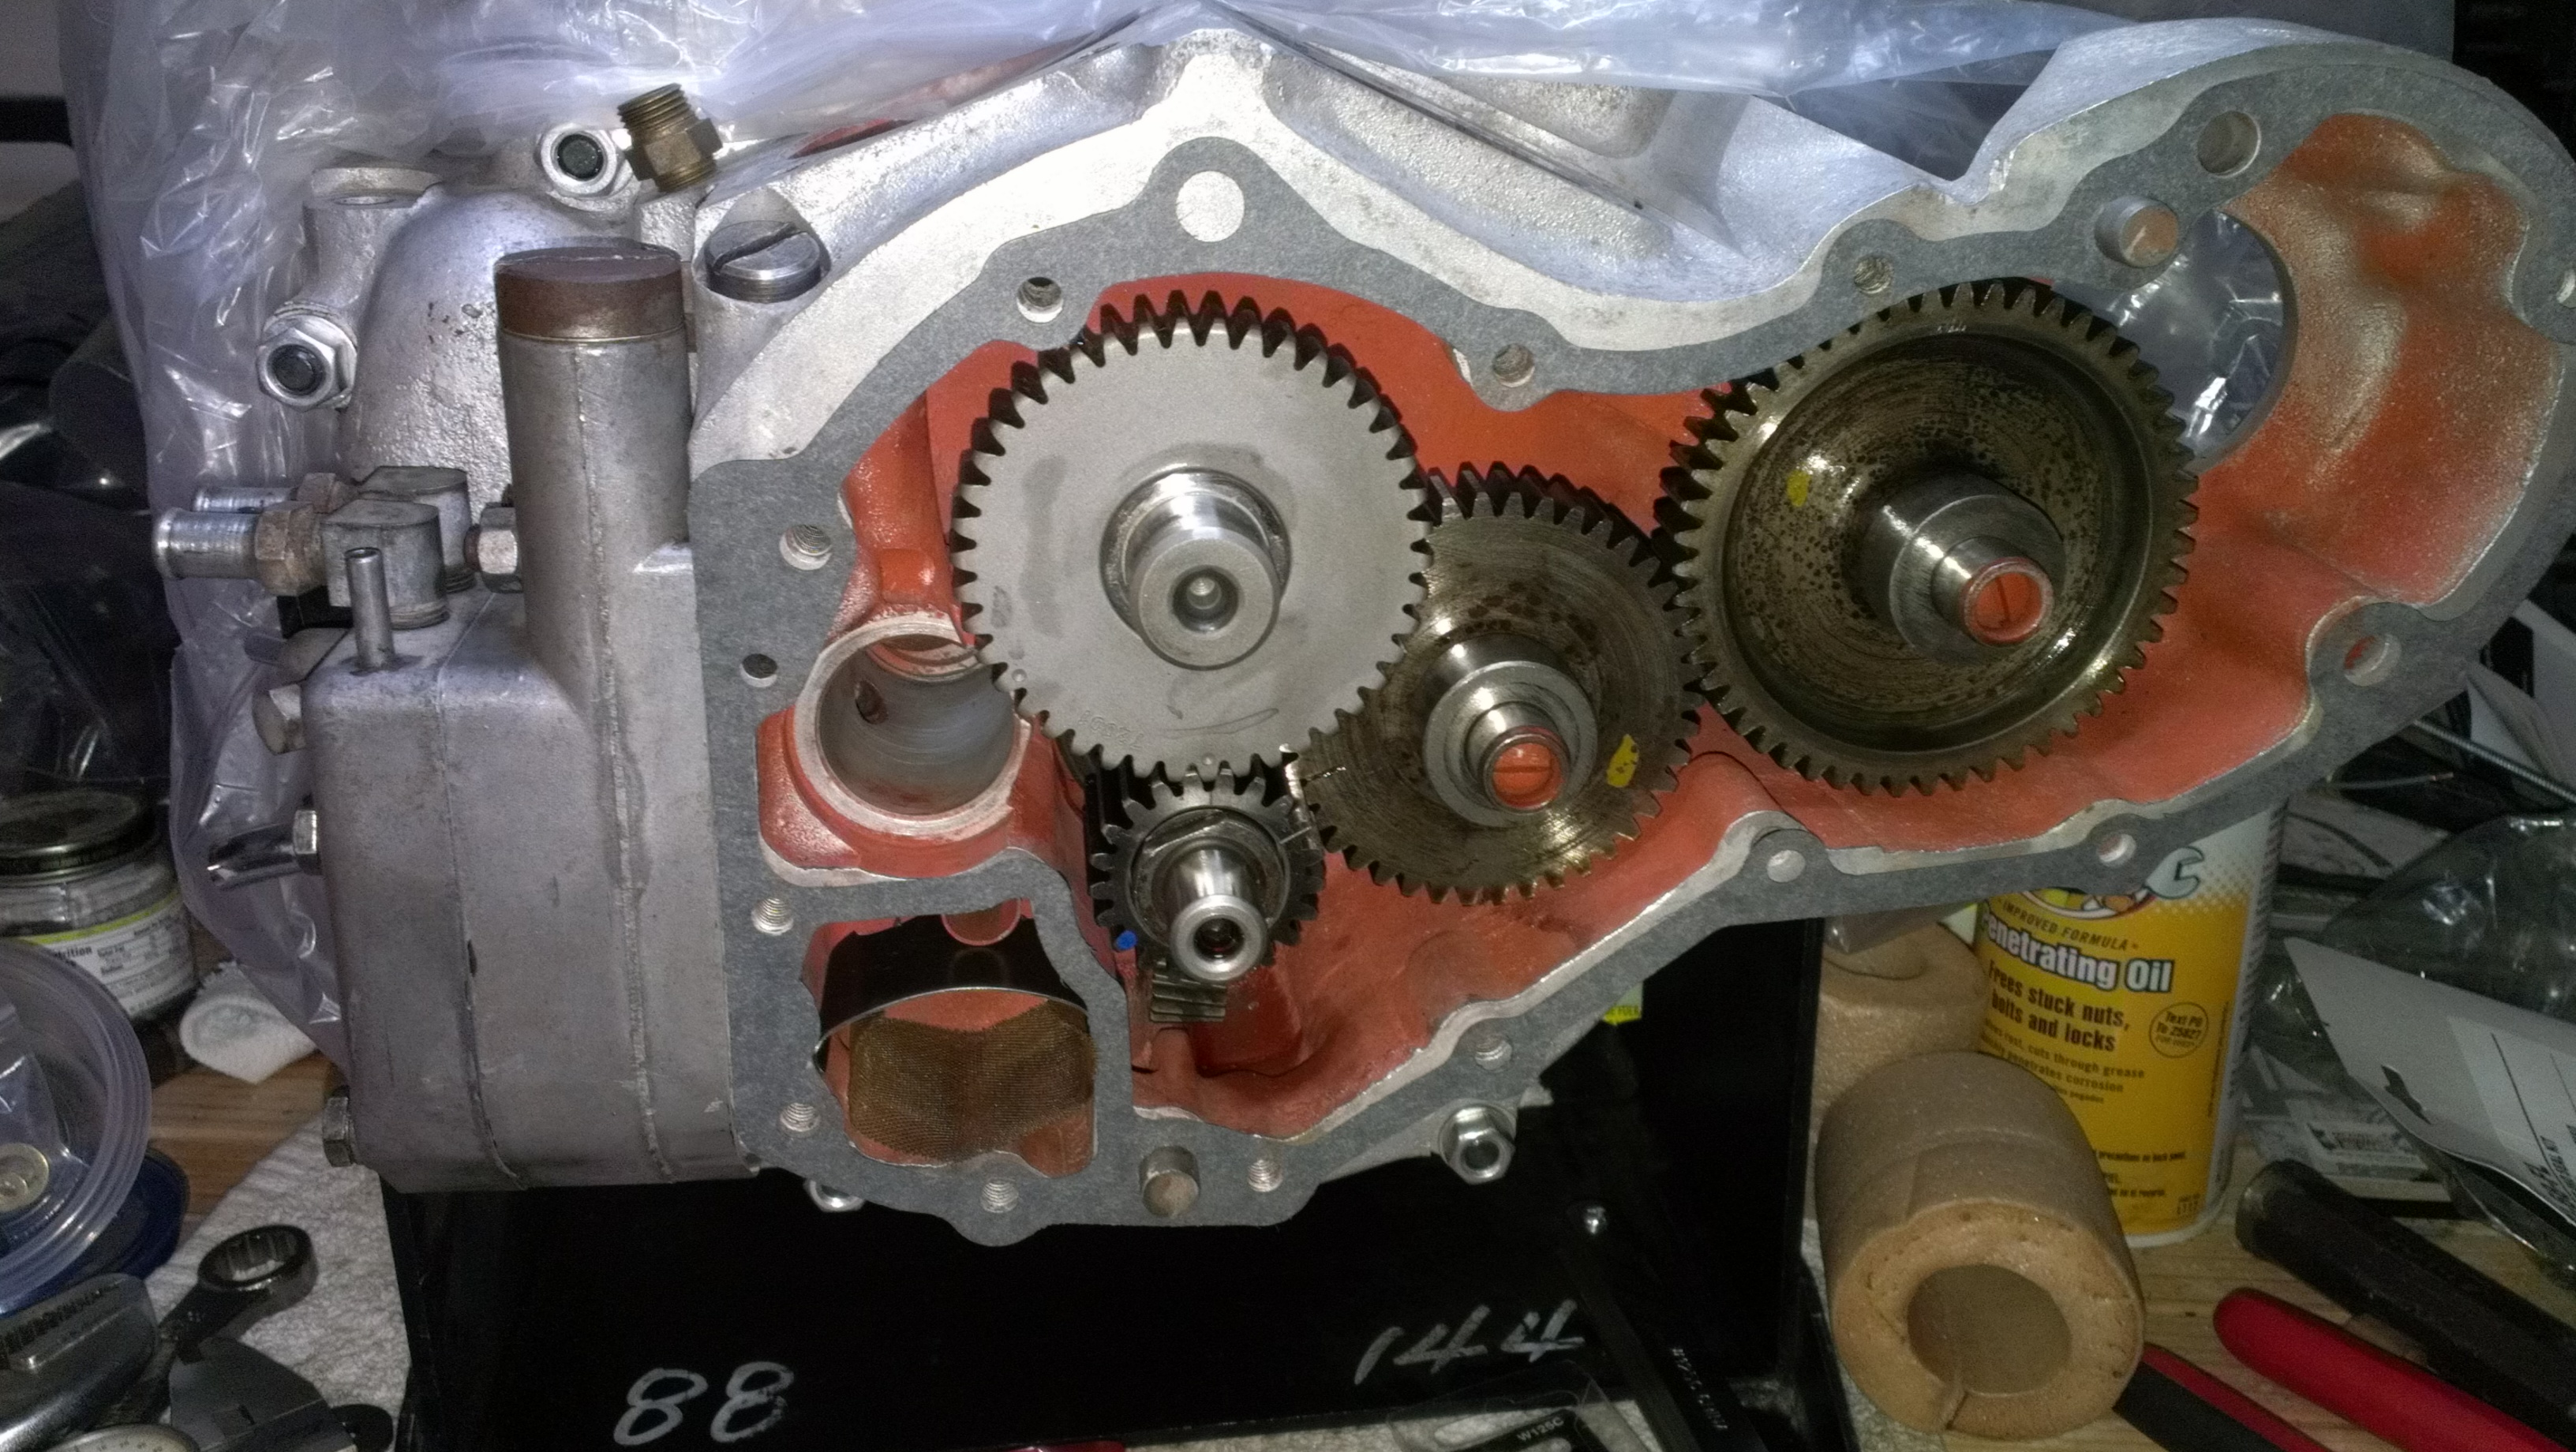
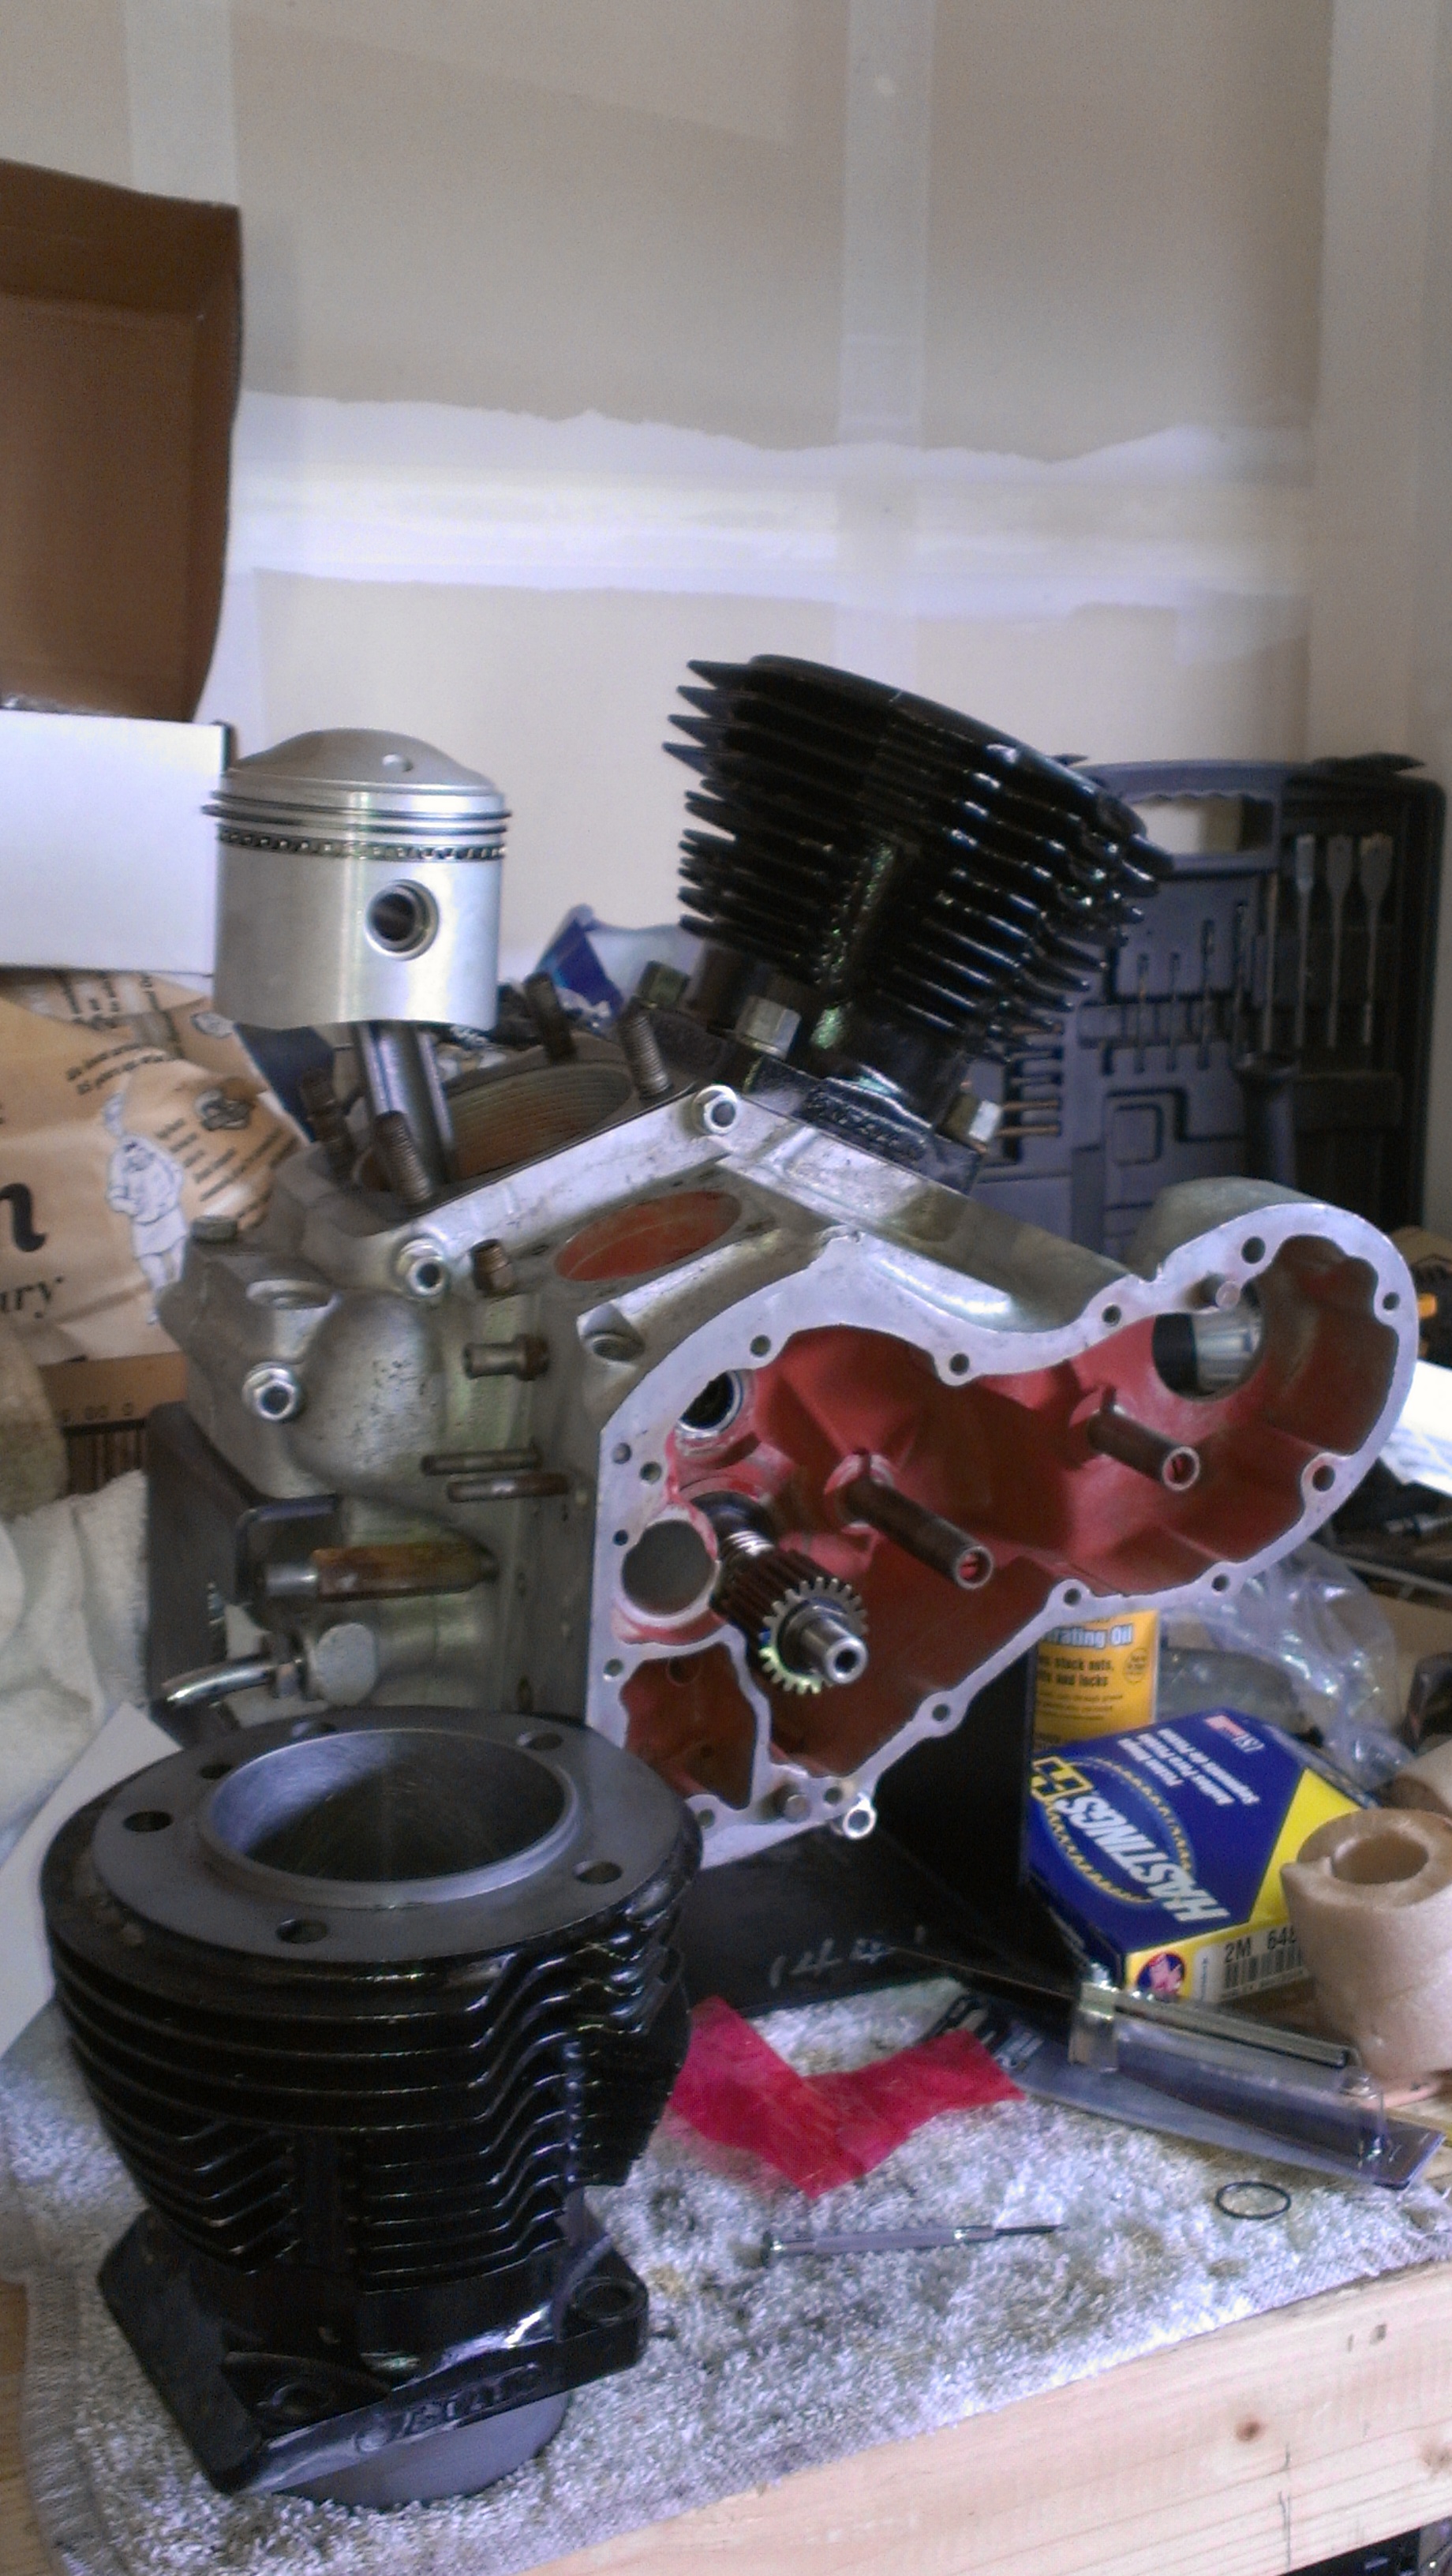
Breather gear goes in the hole on the left side of the, nice new gray, gear on top.

With the oil pump rebuilt and installed I started on the gear case.  This is where I ran into a new problem.  I got all the gears set in place and the only one left was the breather gear.  When I looked inside the breather I could see some caked on gunk.  A couple of large pieces of lead came out wich made me think it was caked with lead.  This started the process of trying to clean the breather.  Since the stupid things coast $120 I figured this was the way to go.

 
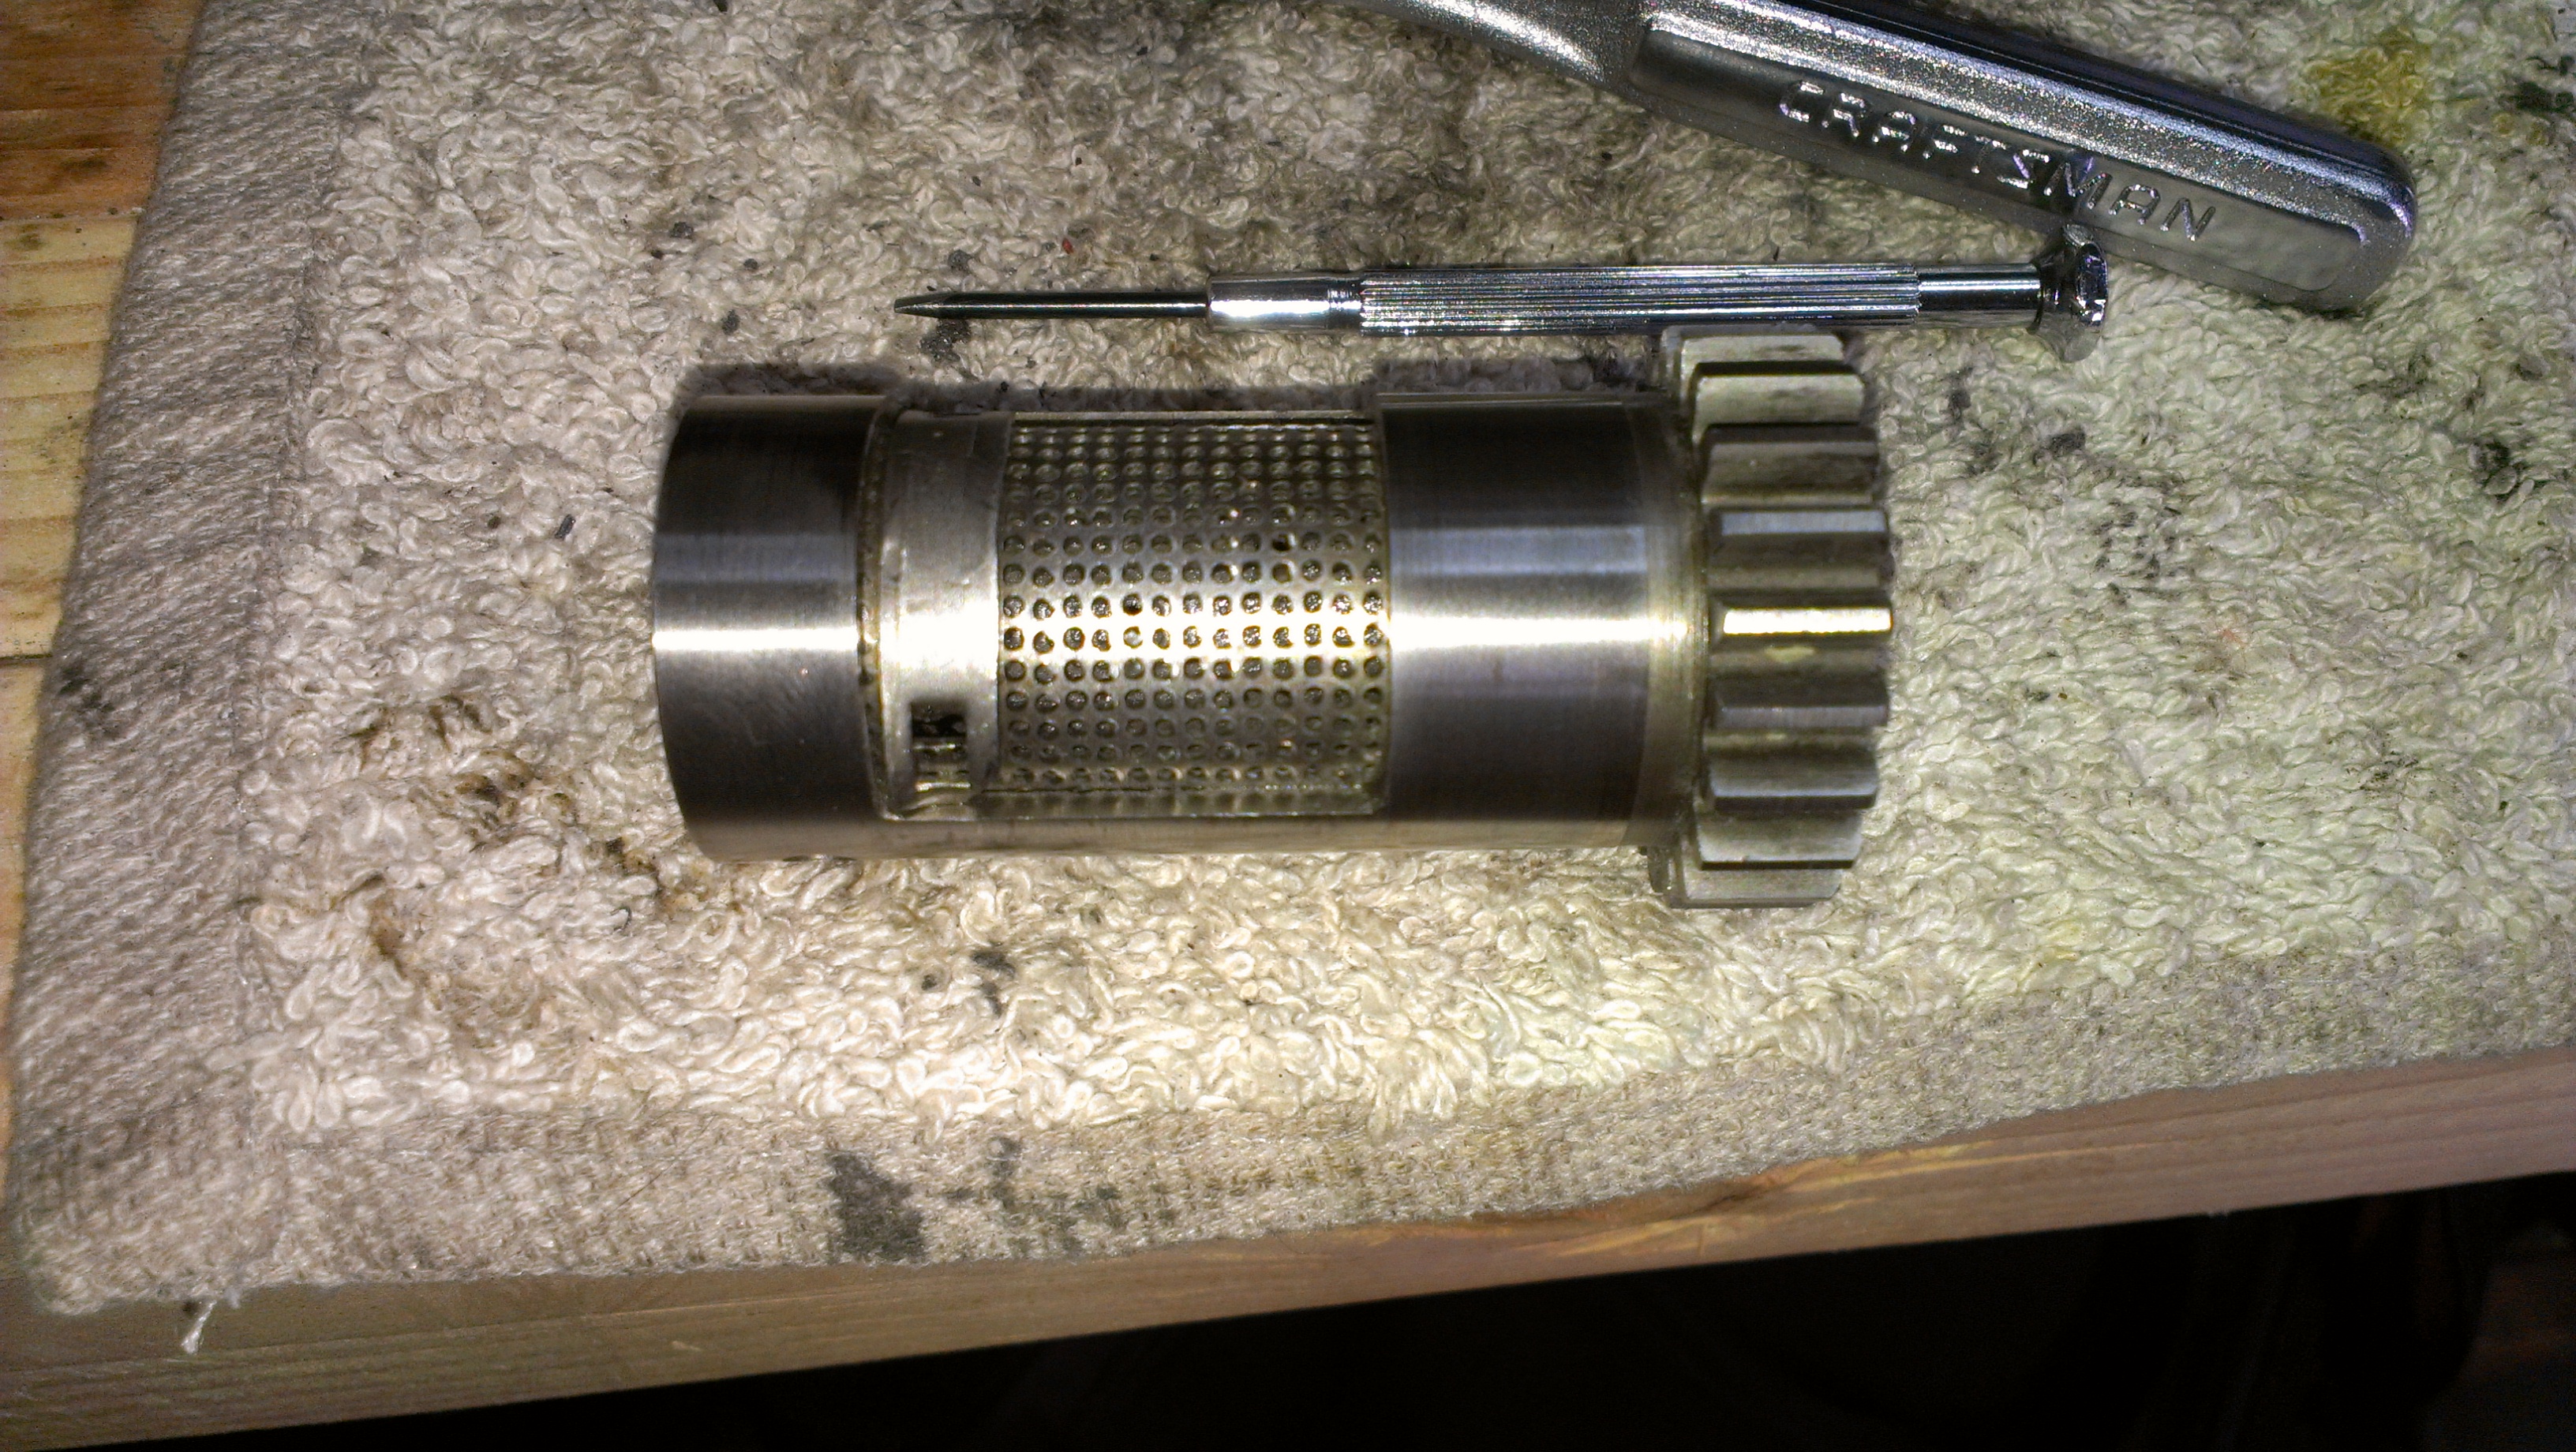
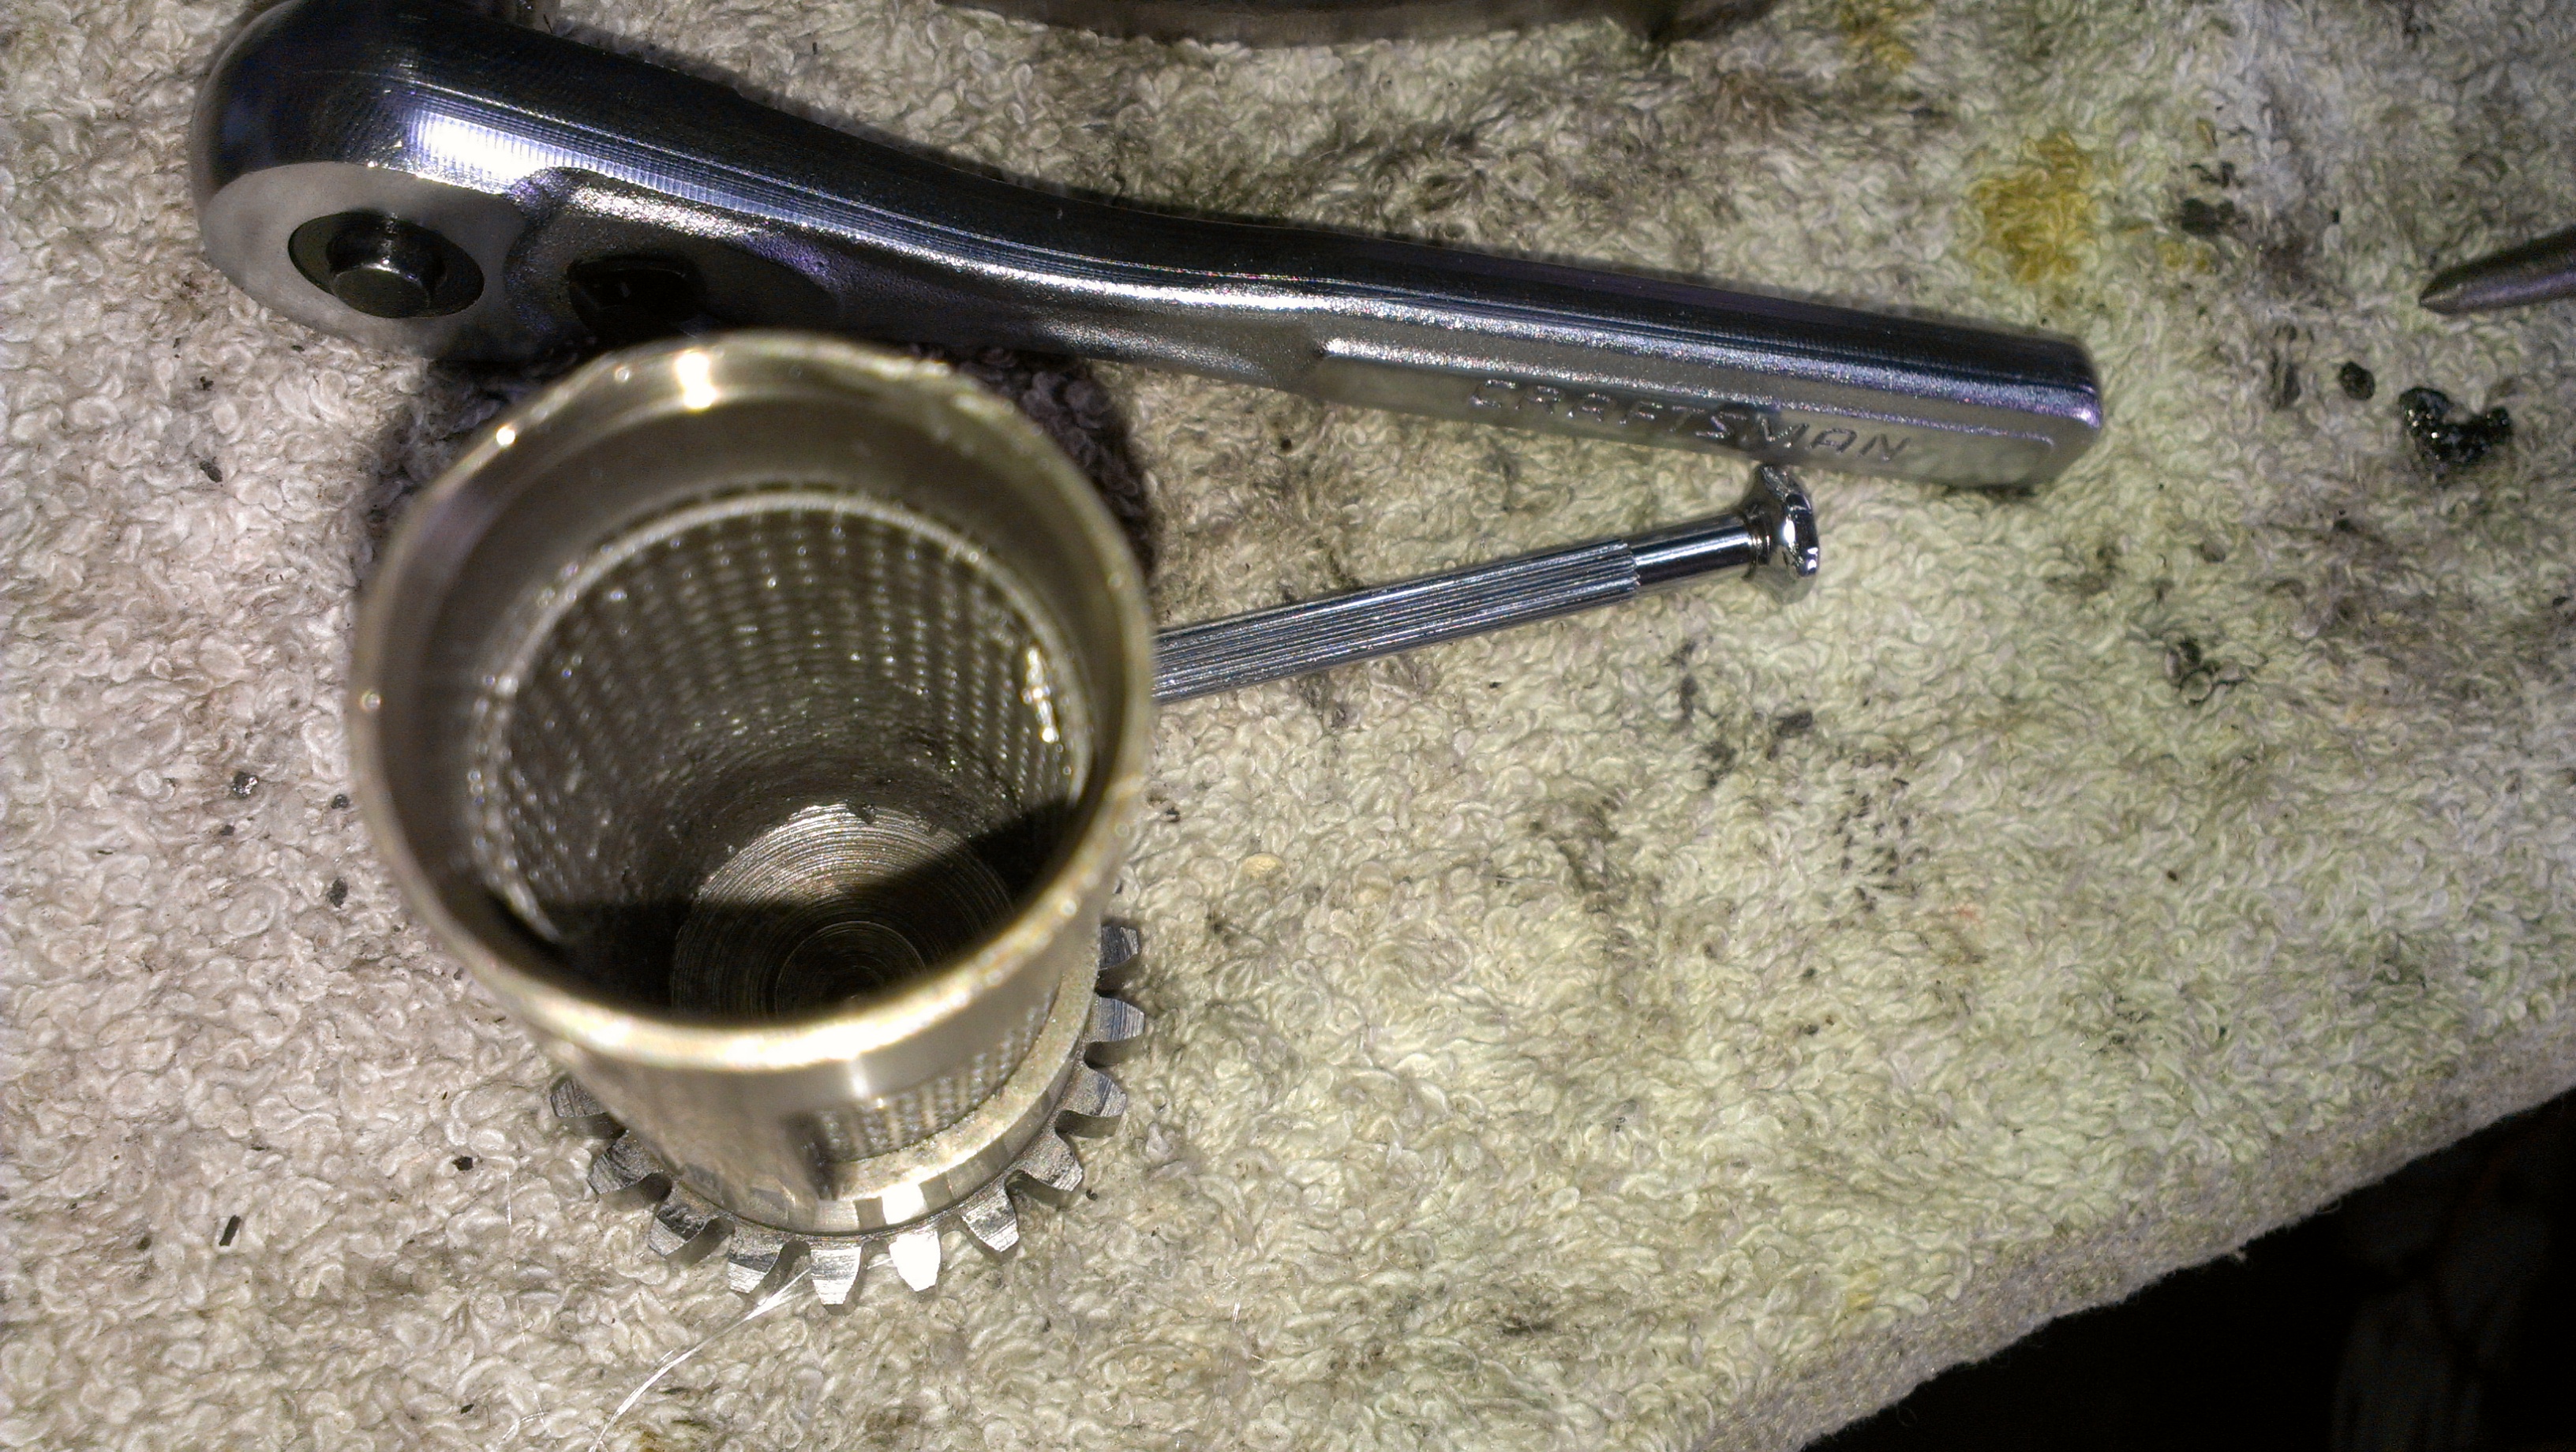
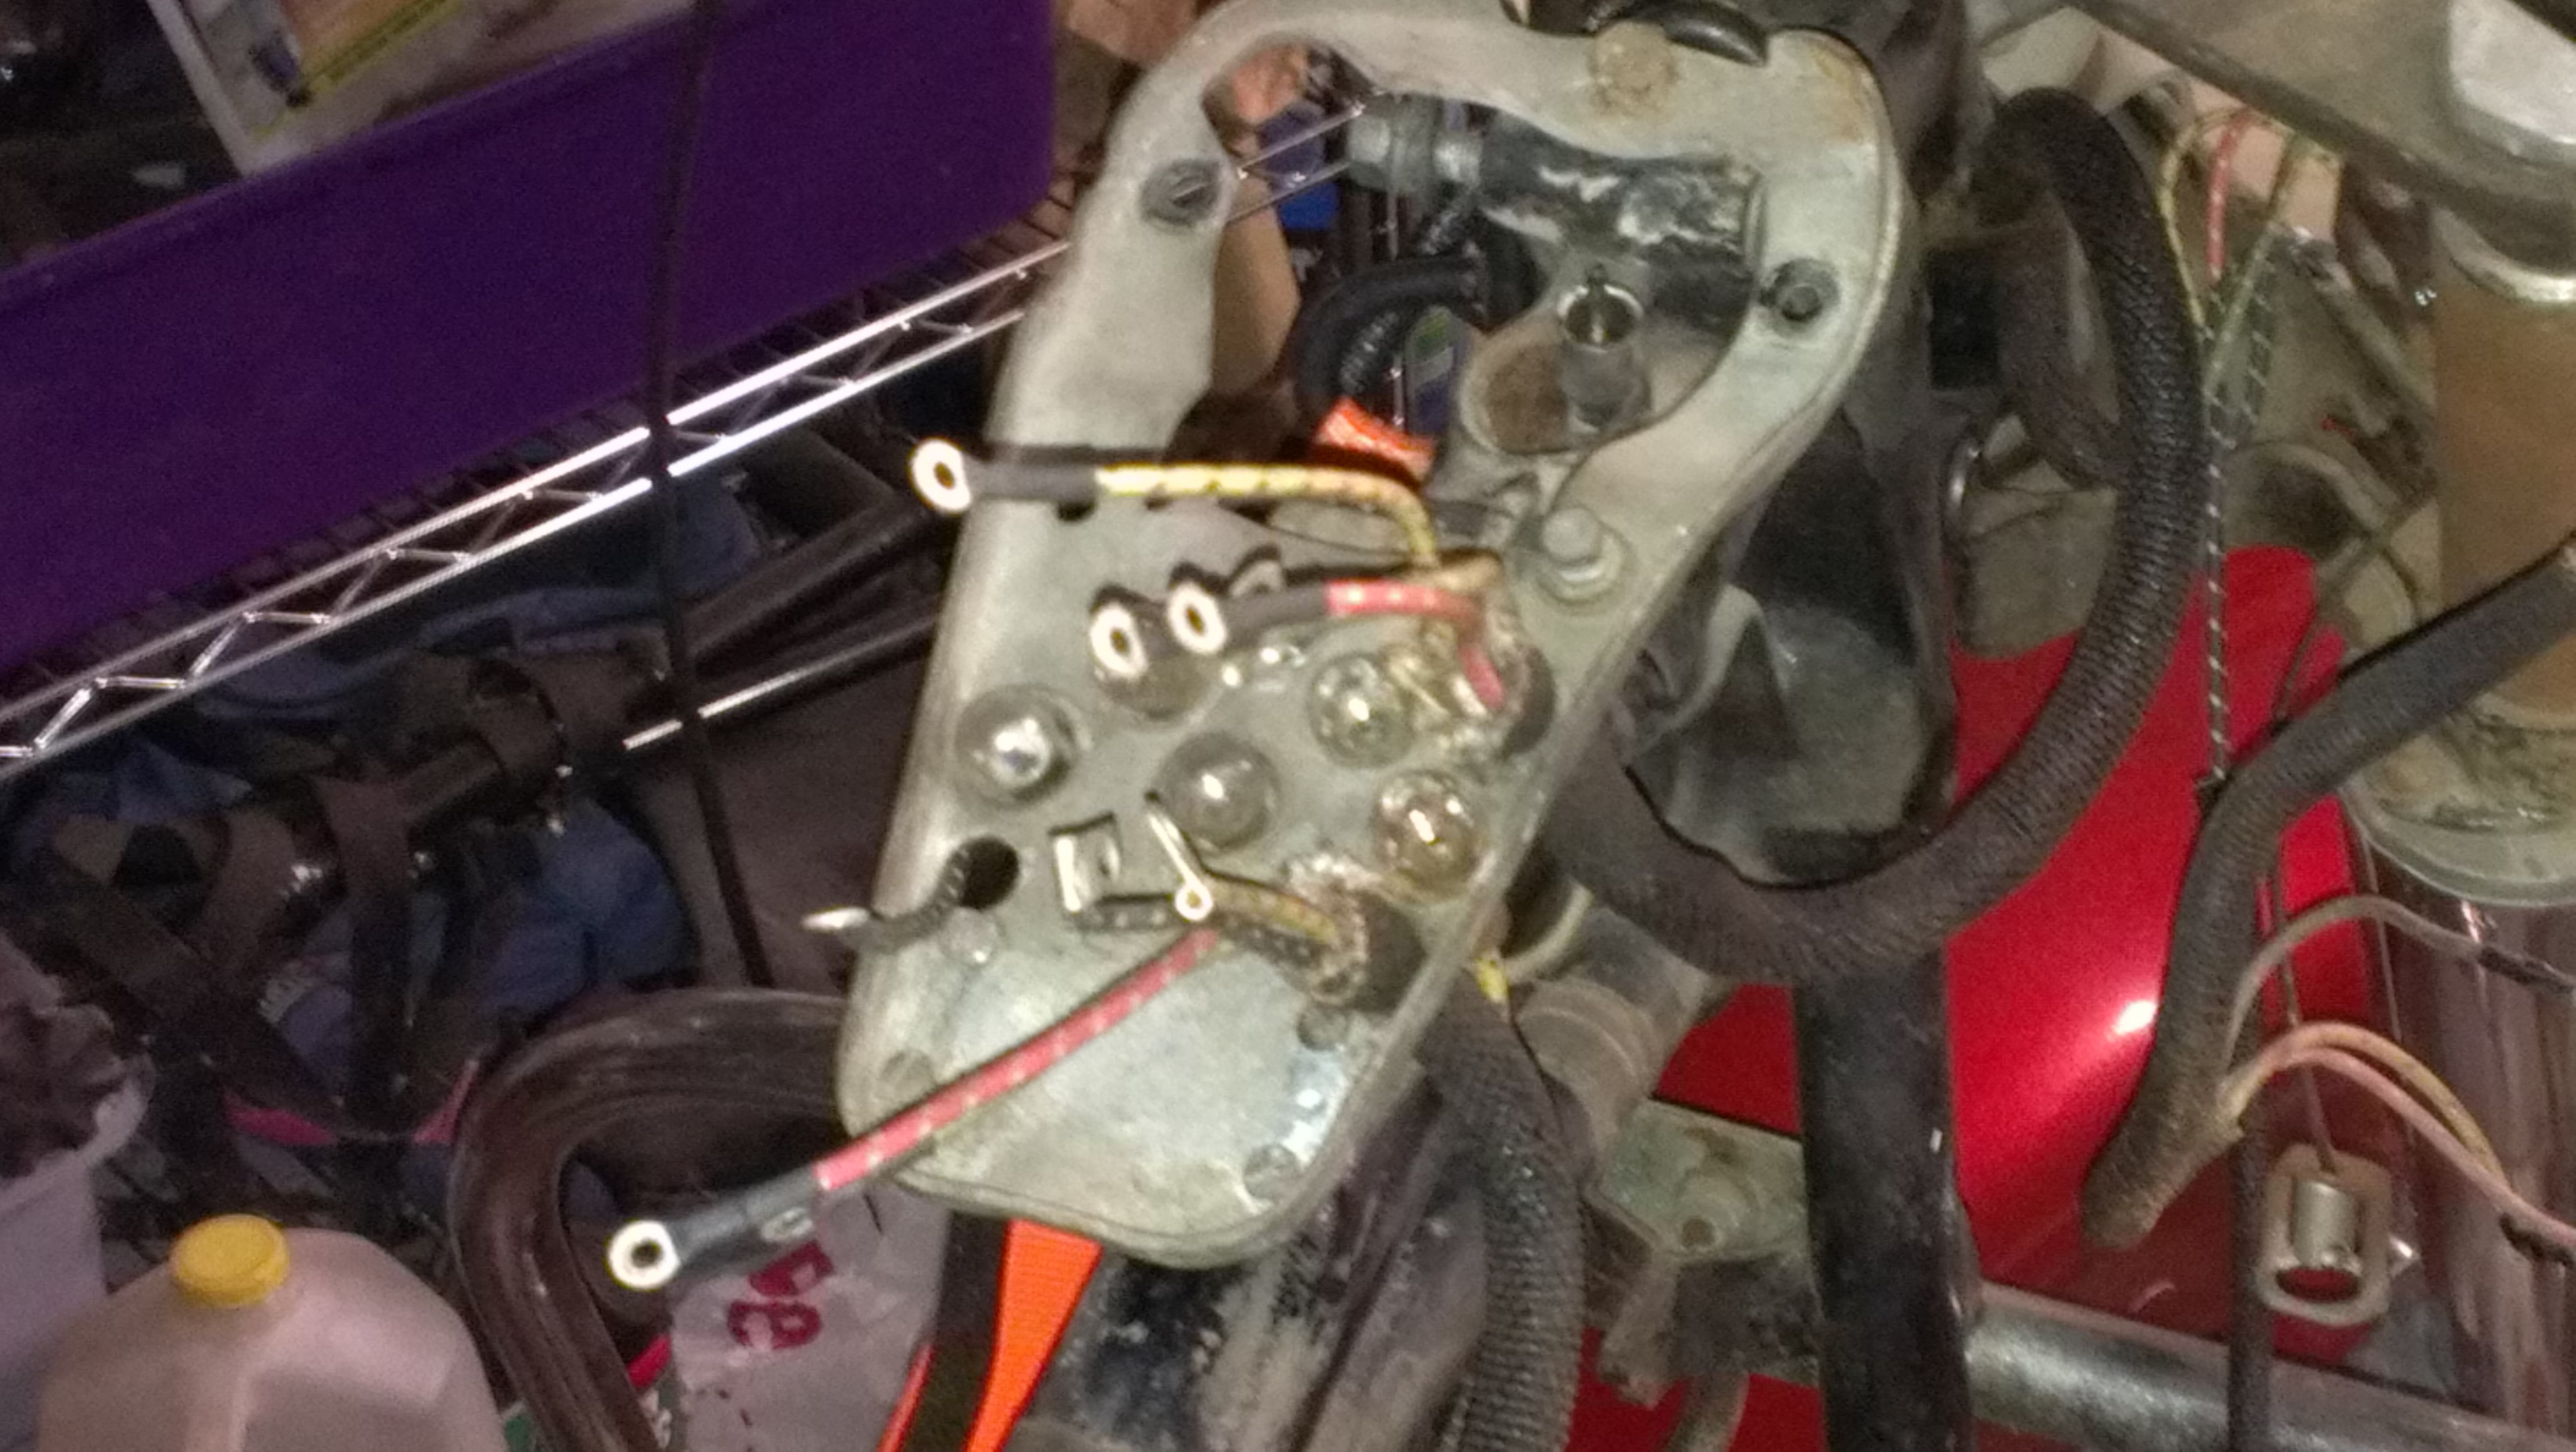
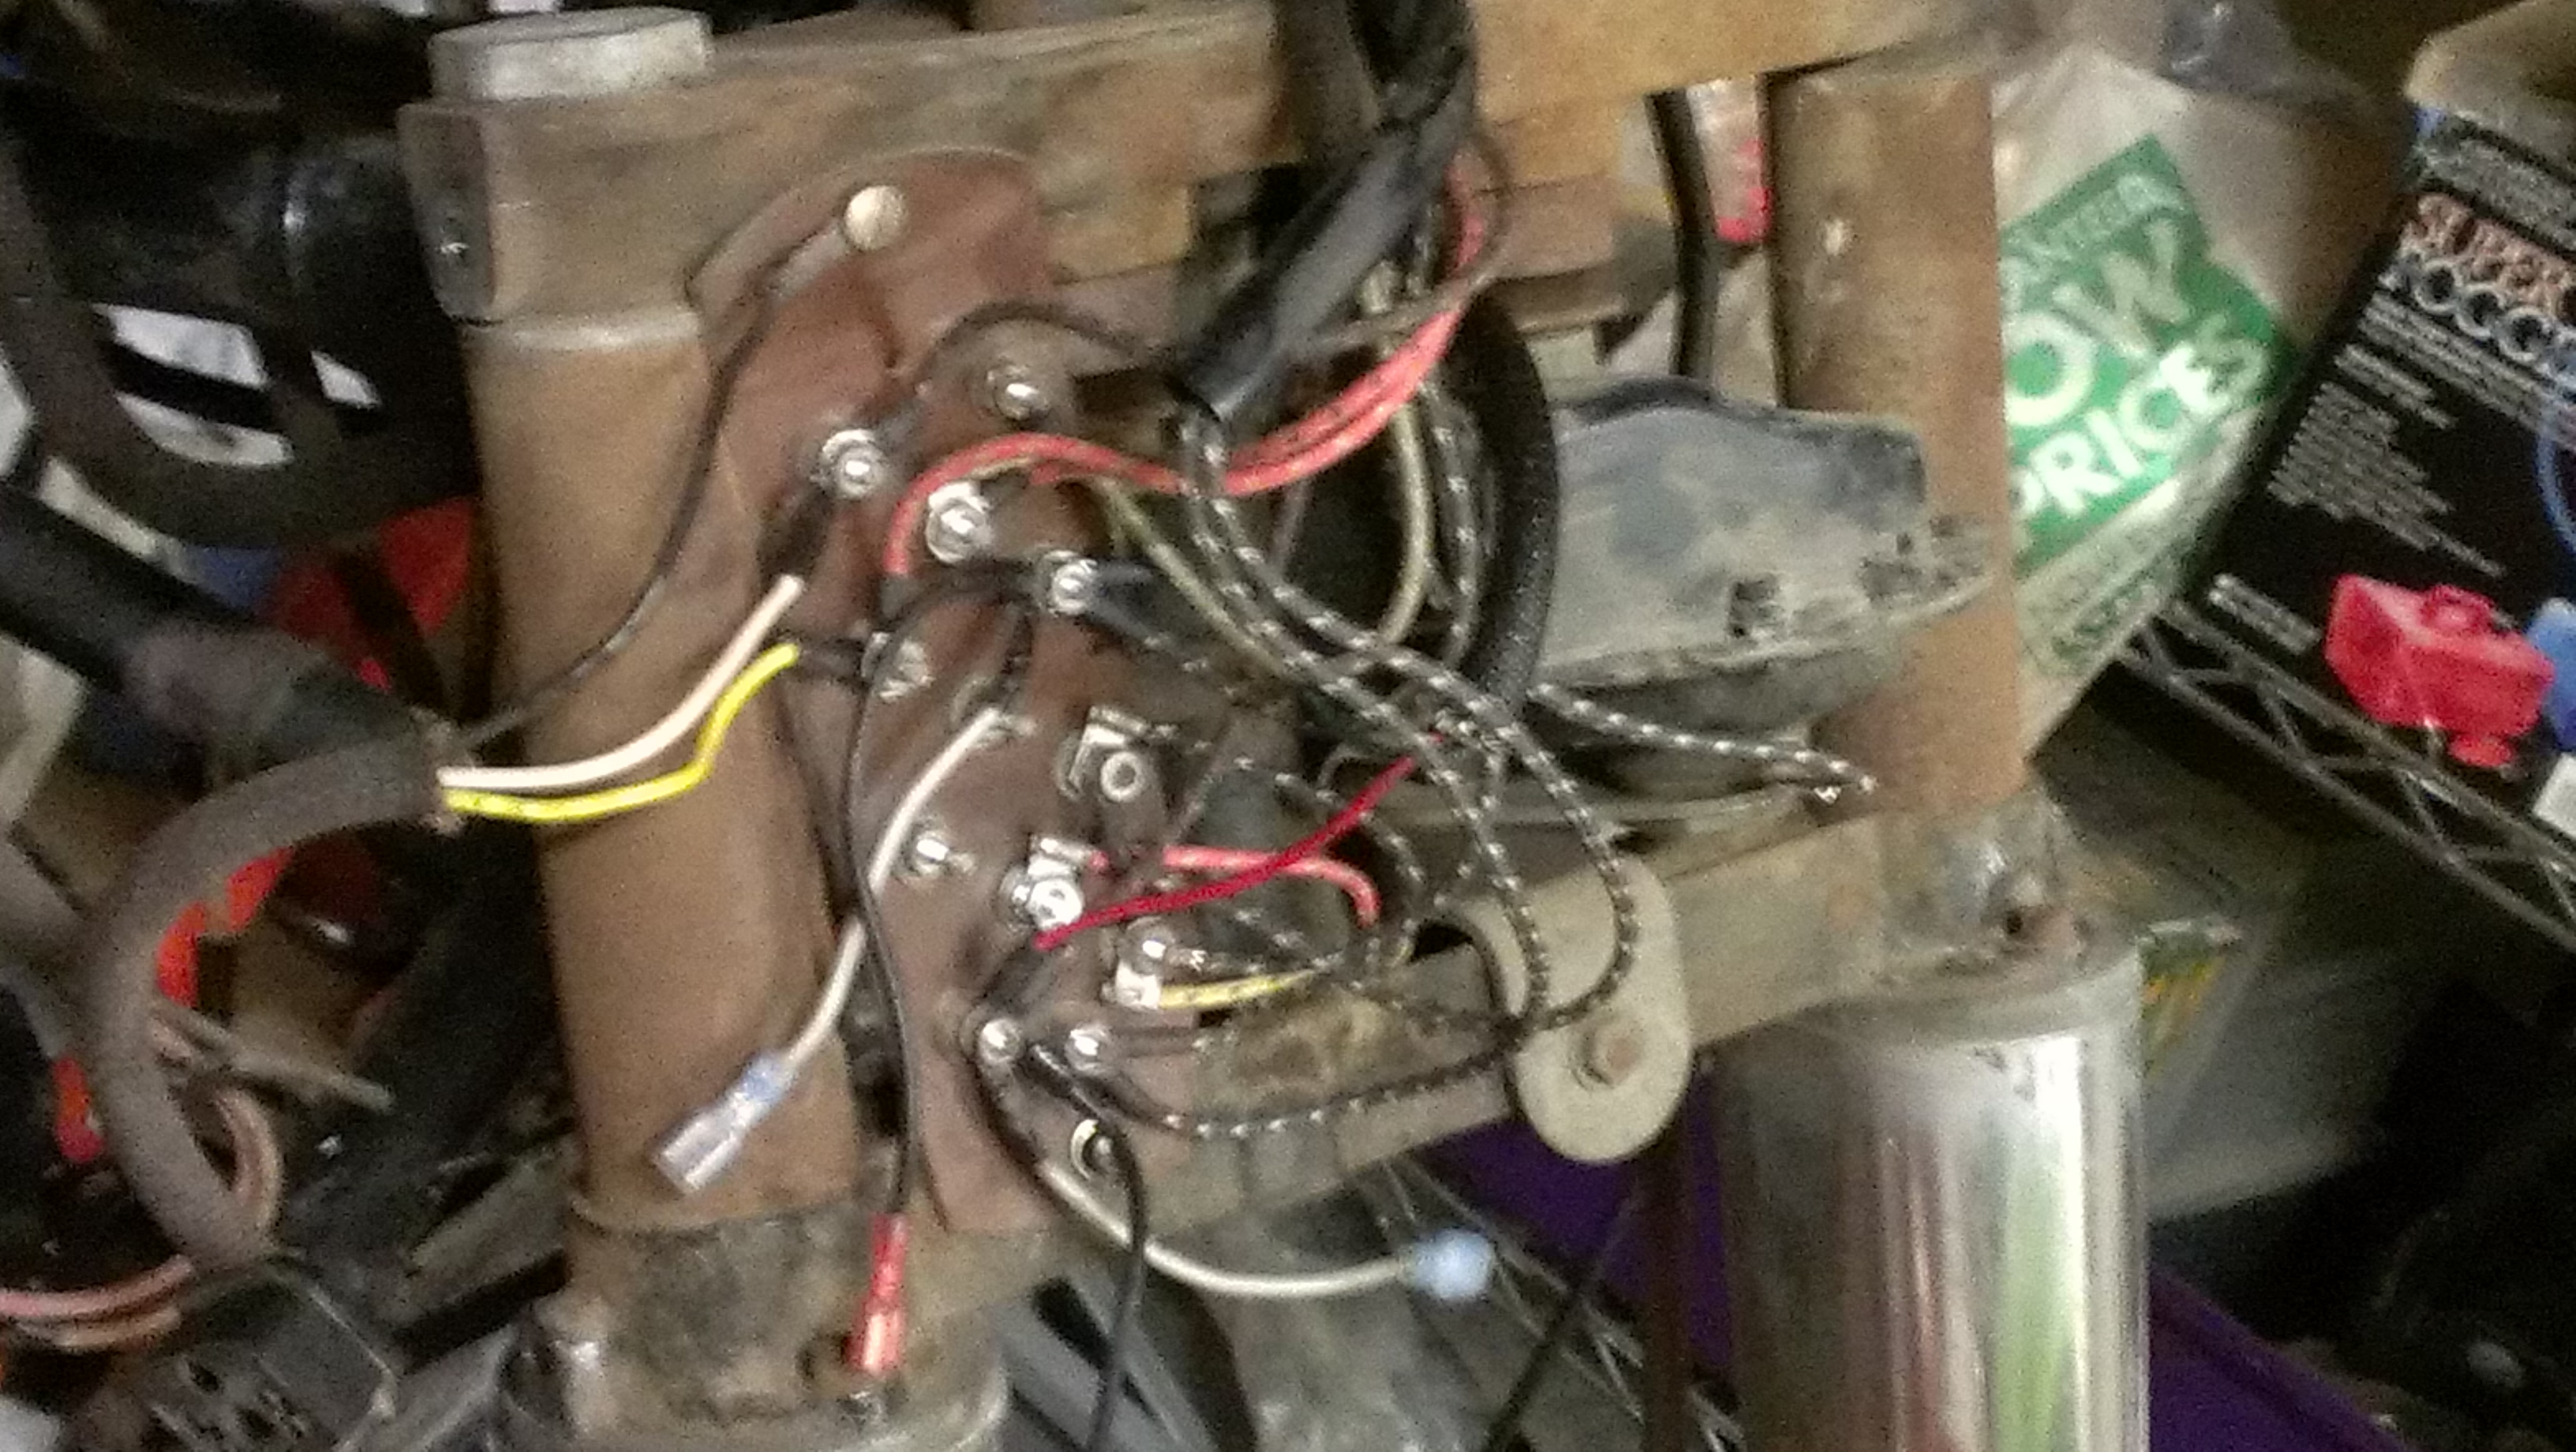
If you look close at the second picture you can see the hols at the bottom of the breather are clogged.  So I tried to take it appart.  I was able to pry off the retaining clip seen in the first pic.  But I could not get the screen out to clean it.  I finally decided to chisel it out and grab it with a pair of pliers.  This worked and would have been easy to reshape to fit back into the breather.  But of course it would not be that easy.  Once I got the screen out it was not only caked it was fused.  I think it had rusted out inside the breather and got caked with lead.  A pice about the diameter of a penny broke off the screen.  
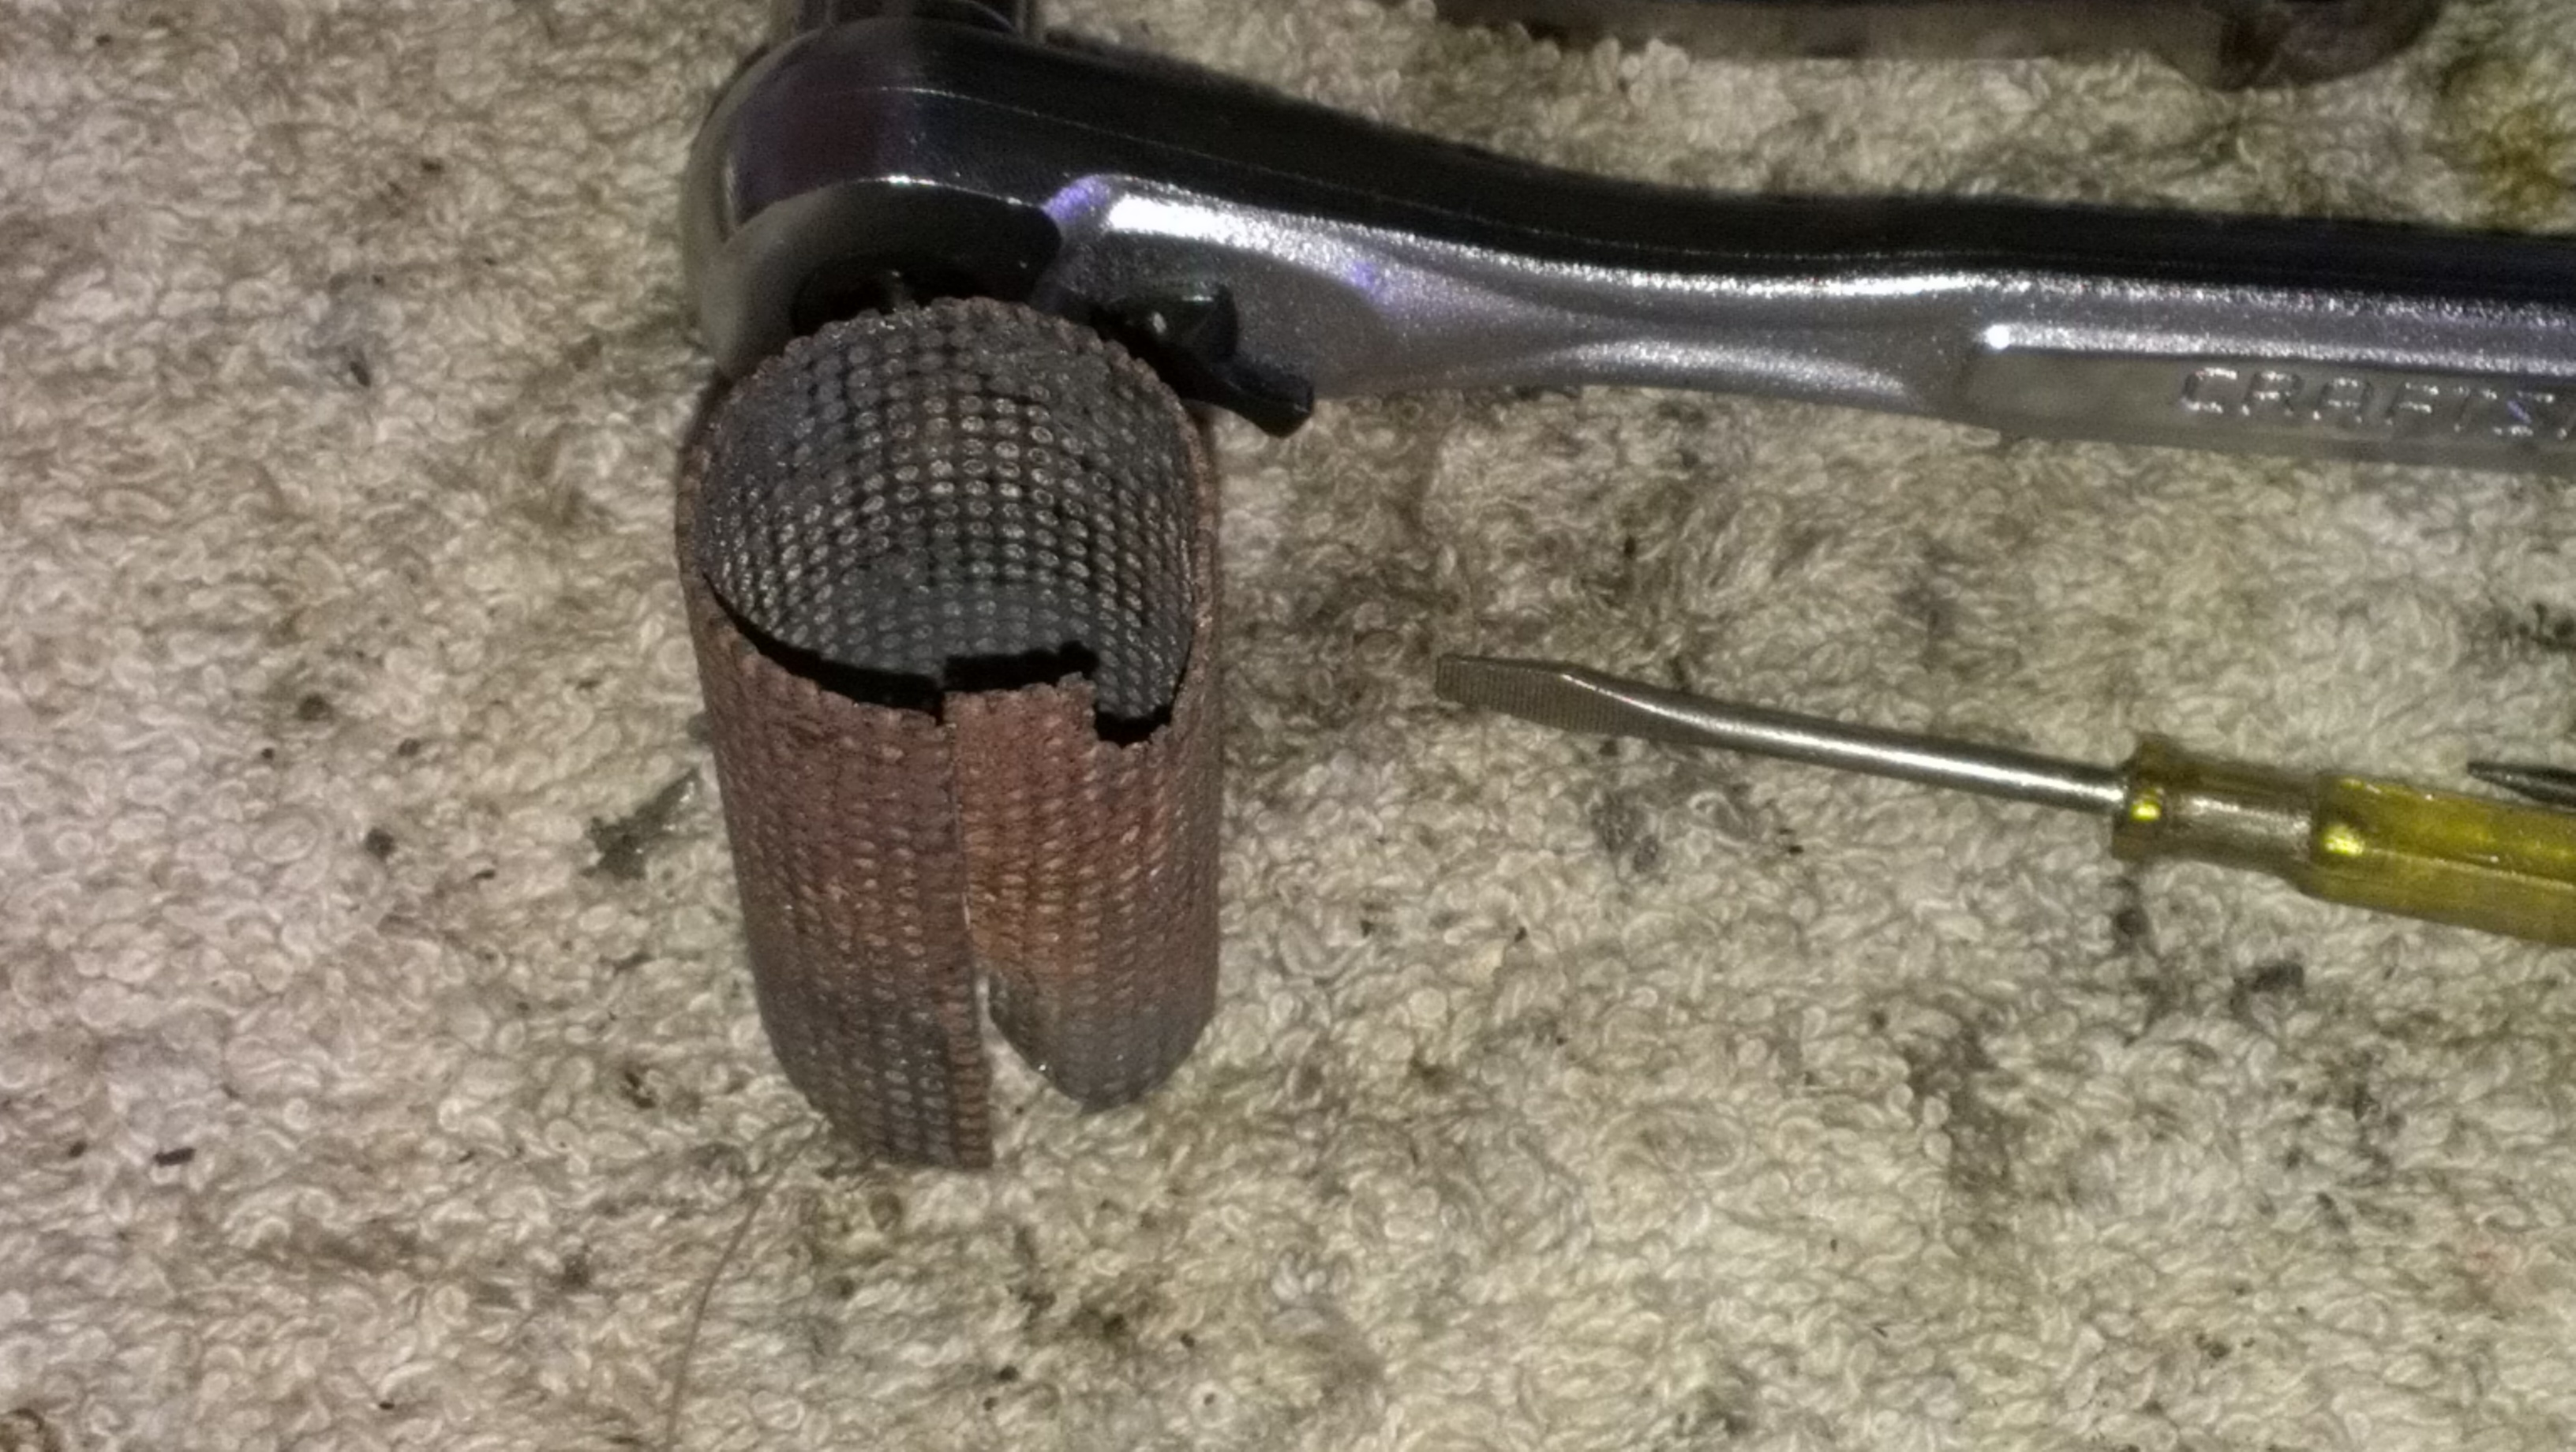
So tomorrow I get to try and find some perforated sheet metal that will replace the breather screen along with a way of securing it in the breather.

Pistons!

Posted in Engine, repair, The Long Rode on March 13th, 2013 by Wade

Billy called yesterday and said it was all done.  So of course I ran straight up there to pick it up.  Sure enough there it was just a bunch of pieces in boxes.  After a severe lightning of my pocket book I was off back home with a “new” engine in the trunk.  This is how it looked when I got put it in the garage.

There is how it sat until today.  Today I started assembly and that involved attaching the pistons and cylinders to the case.  All went smoothly.  The rings gaped out to 0.019 the specs call for 0.010-0.020.  So everything is good to go.  I did have to clean off some of the machining debis from from the top of the cylinder and there was a pice of flash on the oil port of the front “sleeved” cylinder.  It seems to me that that was something that should have been taken care of.  All in all no biggie.  A little brake cleaner, compressed air, and a fresh sheen of oil and all was good.

Now my dilemma is what to do next.  The engine weighs a ton and I debating weather to but the gear box together on the bench or put in the frame and then put the gear box together


updates

Posted in repair, The Long Rode on February 25th, 2013 by Wade

For now I’m just weighting.  but I have gotten a few last things accomplished.  For one I patched the left gas tank.  First thing I did was to pressure test the tank.  I used an old inner tube valve and taped it over the filler hole.  I then taped over all the other holes and give it a squirt of air.  This revealed several pinholes in the top seem just below the overflow/vent nipple.  Using Por-15 I sealed up the holes and lined the tanks.  It looks good and should now be good to go.

The next thing on the agenda was to replace the throttle wire with a bradded cable.  First I used a brake cable off of an old bicycle.  When I tried to push it into the tube  it unraveled a single brade but still would not go though the tube.  I tried all kinds of things to try and get it to push though.  I even tried a drill to spin the cable hoping it would screw into the tube and it did a little before it kinked (kind of expectedly).  So I thought to myself screw it and tried to put the wire back in.  But that didn’t work ether.  Later on I tried again with a gearshift cable from that same bike.  This was also a longer cable and has room for trimming.  This cable must have a thiner diameter because it sliped right into the tube and with almost no effort.  I have to say the throttle twist is now so effortless I fear I might have lost my cruse controle.

Let there be light!!!

Posted in repair, The Long Rode on February 5th, 2013 by Wade

Whooo,  I got all the lights working.  It took a couple of days but I finaley got all the wiring done.  With the exception of the engine and starter.  Basicly that means

  1. Headlights
    1. High and low beam
    2. There apers to a problem with the low beam switch but a little giggle and it works.
  2. Pilot lights
    1. Only on low beam
      1. Supposed to work with the blinkers
      2. I want them to work with the headlights
  3. Left and Right front and back turn lights.
    1.  This was a problem because the left kept shorting out and tripping the circuit braker.
    2. I ended finding a pinch in the wire were it comes out of the blinker light housing.
    3. The blinker unit appears to be dead.  It doesn’t blink.
  4. Horn beeps
  5. Cant test the starter button but that is all the switches and buttons on the handle bars.

After getting all the bugs out, everything worked fine.  Now I just need an engine and primary to finish checking the dash lights, oh yeah and it would be nice if the engine turned over.

Wires

Posted in repair, The Long Rode on January 31st, 2013 by Wade

It’s been about Three days that I’ve been rewiring Marlin.  I started at the back (rear fender) and worked my way forward.  The two big wiring points are the Terminal Box, under the seat, behind the coil and the Terminal Board under the fork cowl.  In the picture you can see the Terminal board , believe it or not those are the new wires.  The other picture is the Panel (dashboard) wires.

The funest and most time consuming part was wiring the handel bars.  I did the whole pull though thing were I soldered the new wires to the old wires and pulled them though the handle bar halves (btw the handel bars are two pieces).  I then got to solder the wires into the old switches and buttons   That was pretty cool to see switches that could be rebuilt that way.  Now I just hope I got every thing in the right places and nothing shorts out.

Transmission

Posted in Cosmetics, repair, The Long Rode on January 25th, 2013 by Wade

I got Marlin outside today to clean the frame as well as pull the transmission to clean and inspect the gears.  As you can see in the photos the gears have been about the cleanest thing on the bike.  Every thing came apart pretty easily but putting it back together was a bear.  Turns out you have to put the trans back on the mounting plate in order to slide it into the frame.  otherwise it wont fint around the swing arm tube and the pogo tube.  In the process of tightening the mounting plate back down I striped the front left bolt.  I guess with every thing I’ve done one striped bolt on the trans plate isn’t to bad.

Lets get started

Posted in repair, The Long Rode on January 22nd, 2013 by Wade

Hey, long time no blog.

Well I called Billy and he said that the fly wheels were finally in.  They were on back order and are the last piece holding up the engine rebuild.  Yeah Marlin’s power plant should be ready by the end of January.

Now I have to get on the ball and get everything else ready.  So last Sunday I got back to work.  I pulled the oil tank to reclean it and get all the glitter (mettle shavings) out.  I also pulled the rear fender so I can start to get the wiring taken care of.  That when I found this.

wire chanel

That is a chanel in the fender with the brake and turn light wires running though it.  I dont know how to get it out or the new wire back in for that matter.  So I check on some forums and duh   Just run a single wire up solder them together and feed them all back though.

But before I do that I plan to take the rolling chase out and clean all the grease and grime off of the frame while I can reach everything.


Next on the list,

Clean the frame,

rewire,

clean the tanks,

reassemble.

hammer blows

Posted in Engine, repair, The Long Rode on November 3rd, 2012 by Wade

Yesterday I finally took the engine into Billy’s.  Unfortunately when I asked him about turnaround time he got really evasive and said it was hard to say as this is the season of limited parts availability.  Oh yea there was also this storm back east witch would also limit part availability.  So hopefully the engine will be done before the years out but its hard to say.

Bottom end

Posted in Engine, repair, The Long Rode on June 16th, 2012 by Wade

Ugh.  I ran the botom end up to Hawg’s last week so we could press out the fly wheels a generaly asses the stat of the bottom end.  First I want to say sorry that I dont have any pictures. The subject completly sliped my mind.  durring this whole process. What I will say though is that the proccess was rather enlightning and edjucational.  To Hawgs I took the left case , fly wheels, and the gouged piston.  The first thing Hawg did was to look at the piston and say “look how the ware goes at an angle to vertical.”  Damn he knows what hes talking about. 🙂  So after some shit shooting and finding tools we got the flywheel pressed out of the case.

We found some interesting things.  First the connecting rods had been pushed over into the thrust washer left thrust washer to the pint that it had gouged into it.  Can it be fixed ???  Then we found that the connecting rods were vary difficult to get off of the drive crank pin.  But we did get them off.  What we found after we got the flywheels apart was nothing liess then disappointing.  First the right flywheel was bored, drilled for balancing, at the top, neer the crank pin.  This is a NO NO as it weakens the wheel and leads to cracking.  Next we found that the borring holes on the left wheel were drilled out then refilled with lead.  In of of itself is not bad but when ist is just half assed into the hols it leads to the lead falling out of the holes. As in this case.  We speculate that it was the leaching lead the lead to the connecting rods feeling so gummy and hard to pull off the crank pin.  Lastly we found that the crank pin and bearings were pitted and there for no good.

So last Tuesday the 12th, since there closed on Mondays (hours are helpful on the webpage).  I took my engine up to the machine shop and Billy said my cam was shot as well.  Now I’m looking at not only a $1200 top end rebuild but a bottom end as well.  The parts alone for the bottom end is in the $1000 rang just for the fly wheels.  So in about three more weeks I hope to hear from Billy about a quote on the engine rebuild.

  • Valve job – $650
  • Cylinder sleeve and boring – $625
  • Bottom end rebuild – $1000
  • Original 1968 Slab Shovel with OEM case and jugs – Priceless

Now fortunately I have time to check the trans and swing arm as well as rewire marlin.

Rear Cylinder

Posted in Engine, repair, The Long Rode on May 22nd, 2012 by Wade

Got the rear jug off.  its beautiful inside.  it is also .01 over bore.  I dont see a more size on the front piston.  They do seam to be a matching make of piston.  I’ve got a call in to a local (ish) machine shop, that comes highly recomended by Hawg, for a sleeving and boring to match out the cylinders.


Got a quote for the repairs to the cylinder.

  • $275.00 for Sleeving
  • $320.00 for pistons, rings, boring and labor
  • $650.00 for valve job.  Assuming parts are all good.
  • $50.00 for gaskets to put every thing back together
  • $1295.00 To put Marlin back on the road.